
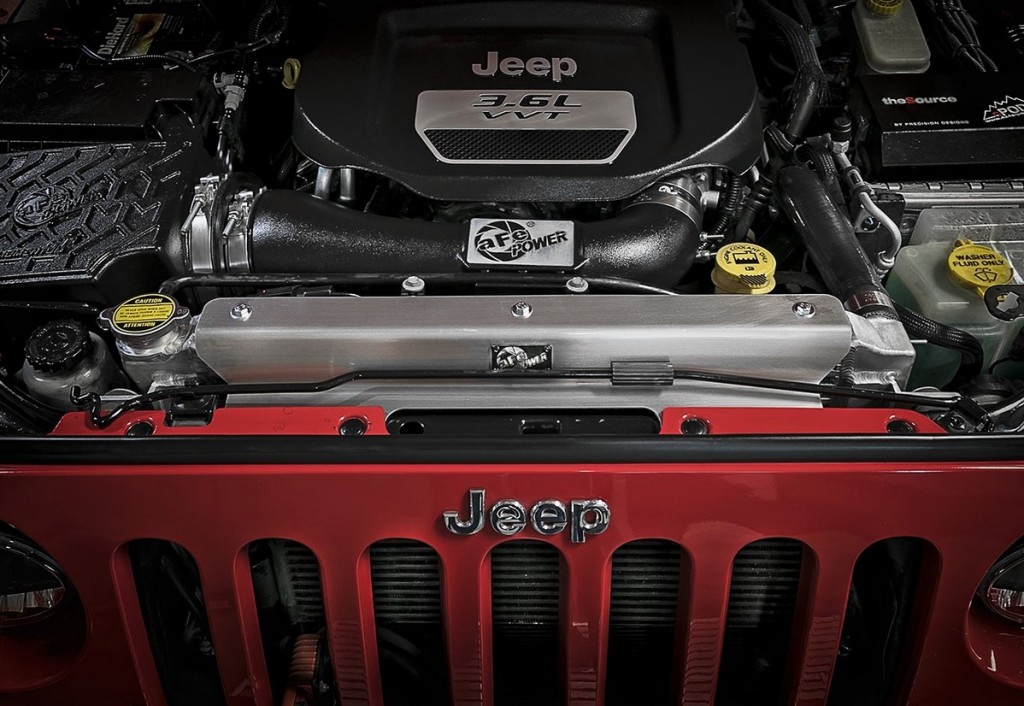
No engine can run on its own. It needs support from friends and family. This is a lame joke, but you know what we mean. One of the closest friends a mill can have is of course the radiator. If he’s not functioning right due to a leak, a plug somewhere, or some other damage it will affect the engine’s performance, and in the end, lead to overheating. It is not an issue that’s hard to notice, but it is essential to take the needed measures before things go south. Luckily for you, it is not a hard task, and anyone can complete it with enough instructions especially when it comes to one of Jeep’s most precious models – the Wrangler.
Yes, we know, no one is a mechanic, and you shouldn’t assume you’re one just because you could do this. Trust us, by following our instructions and with the right tools, this can be done. All you need is time and goodwill combined with the two things we mentioned above. So, get ready and dig deep into our article which is adequately named and will teach what you should know. Here is how to change a radiator on a jeep wrangler – 2024 step-by-step guide. Be careful not to miss any of the steps we tell you about. They’re all vital to get the job done right. Let’s see what step one is.
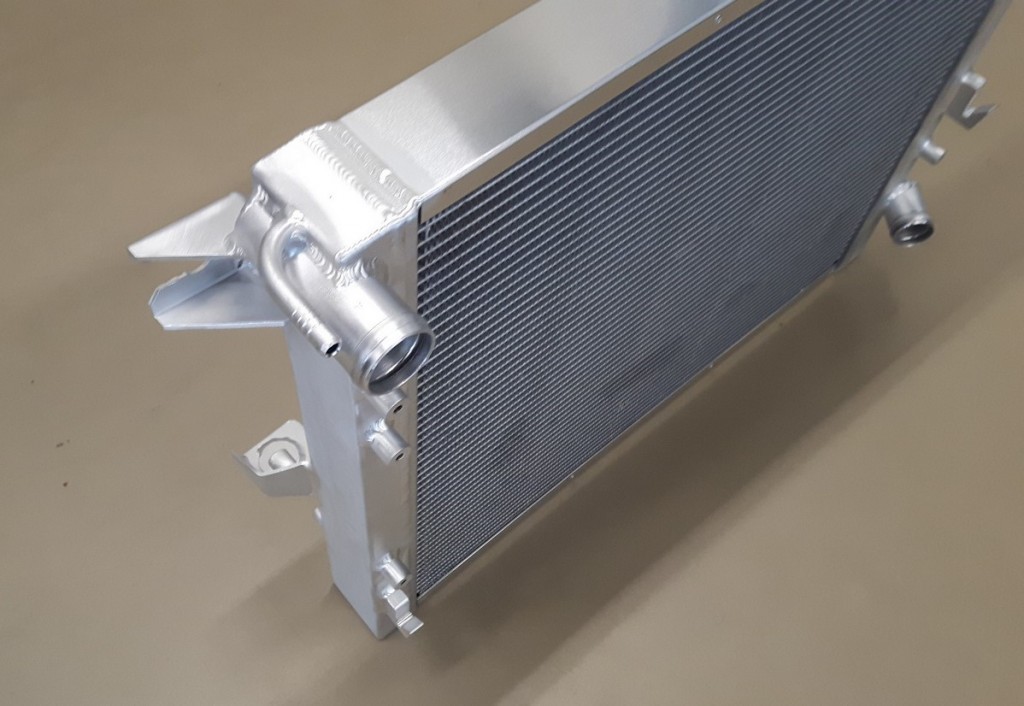
Step One – The Thing That Set You For Success
First of all, you should only sue the parts that will do you a favor. Do not try to go around, but go straight for one of the best radiators on the market. Read more here if you want to know a perfect choice. You don’t want to change this part now and then, so go with the one that gives you the most longevity. Of course, you just can’t pick any from the bunch. Be sure to go with the one that suits your type of car. Match it with the year, model, transmission, and the engine itself. You could also take a peek if any other part in the area you are going to needs a look. Ir will save you some time not to go there two times.
Step Two – Start The Work
Once you have step one behind you it’s time to start all the hard work. First of all, you’ll need to prepare the pan that will collect the coolant that will be there once you release the petcock valve. It is located on the right side of the radiator right on the corner. All you need to do is to open it and wait for anything that’s inside to go out. Once it’s drained you need to put the valve back on. After this is done, it’s time to remove the radiator.
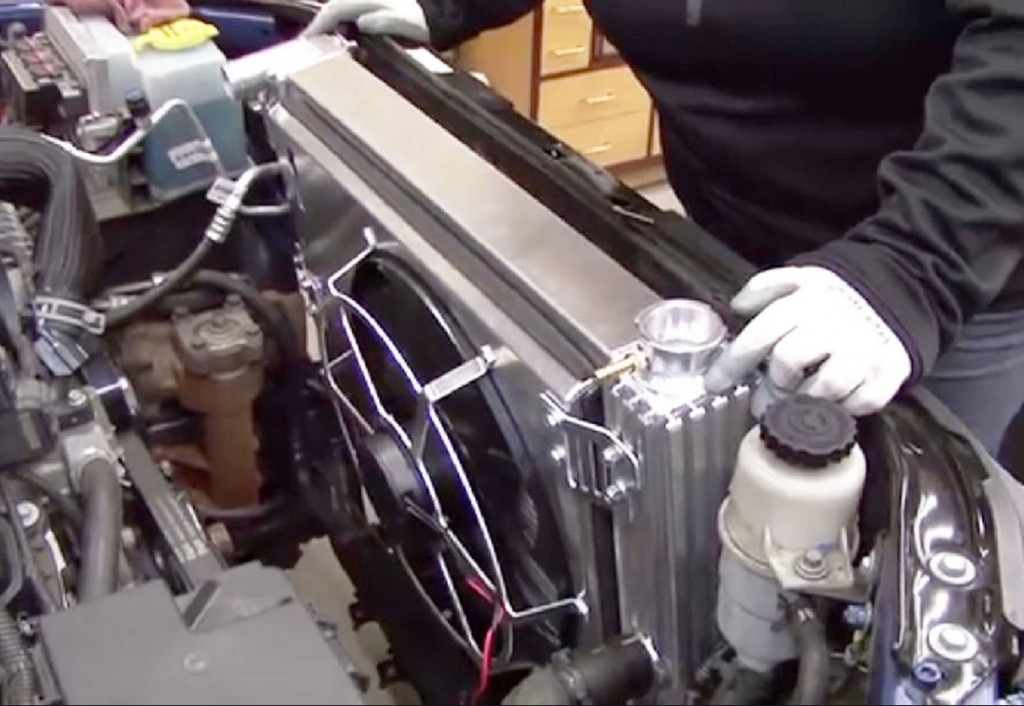
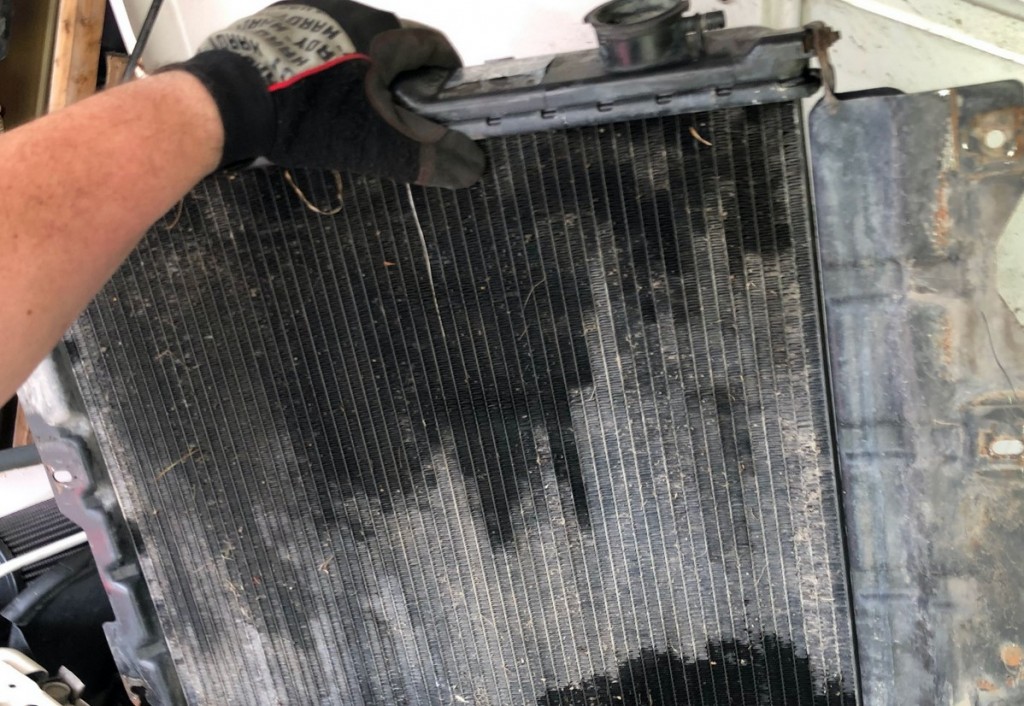
Step Three – Remove The Radiator
On the top, you’ll find the hose clamp that holds the two hoses connected – the radiator hose and the one leading through there. Once the clam is gone you need to pull the hose off the radiator off. The next move is the identical one, you only need to apply it to the bottom end of the radiator. The connections are almost identical and you shouldn’t have any issues with both the upper and the lower end. After this, you’ll probably notice the transmission cooler lanes which also should be disconnected from the radiator. Next, you should take a socket and unscrew any connection the radiator might have to the core of the vehicle. It’s where from it drains its support. This completes the removing end as you are now free to lift the radiator from your precious SUV. The one thing you shouldn’t forget is that you need to lift it directly up; be careful about left-right movements as you can damage the surrounding parts.
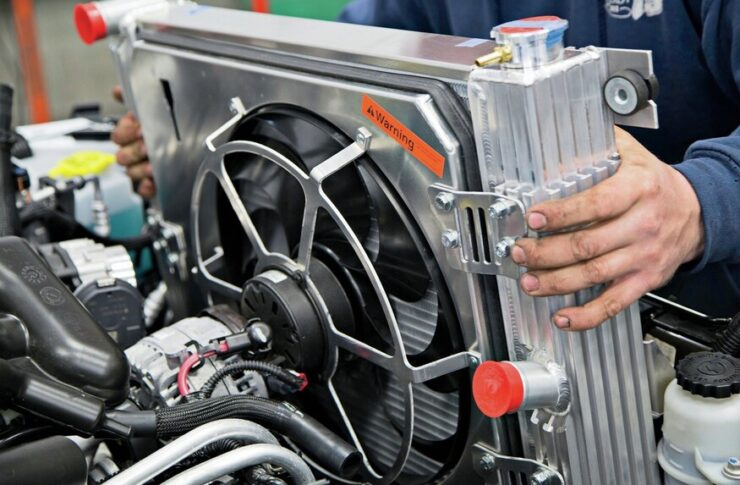
Step Four – Are You Ready For Installation?
Initialization of this process is the position you approach the vehicle with the new radiator. It needs to approach from the core support end and then lowered slowly and with precision. As we said with the removal of the old one, you need to watch out for other parts such as cooling fins. You do not want to damage something else with the radiator. Once it is on the core support secure it with bolts and tighten it with a socket. Now you need to put back everything you removed with the first few steps. The first move is putting the transmission hose back in; the second one is going to the lower end of the radiator and connect the radiator hoses. Both moves need to be completed by tightening the hoses after they’ve been fit together perfectly.
The same move needs to be repeated with the upper end of the radiator. As you can see, the decomposition starts from the top, while putting it all back together starts from the bottom. You could go the other way around, but this is the path we recommend, in the end, suit yourself with the start and the finish. Once the radiator is put in its place, tighten properly, and all hoses are reconnected in a manner they were before you removed them the setup is completed. All that is left is to fill the engine with water and antifreeze in a 50/50 mixture and you are all set to go. Of course, you need to be your inspector, so after you start up the engine, look around the radiator and beneath the car if there are any leaks. If they are, it means you haven’t connected one of the hoses the right way, and you need to tighten them further. But, if you followed all of our steps carefully this shouldn’t happen. Hope you have a great read, and that you can do this task on your own from now on.